I’ll Be Home Quarantined For Christmas
Hello, and welcome to my fourth column! Last week I shared some of my candid skills and basic photo editing tricks that you should be able to do from your phone. So you now have your picture. But what are you going to do with it? You don’t want to give a picture that’s still sealed in the envelope the drugstore gives you at pickup.
You could buy a photo frame, or you could make one! I found a cool looking craft online and thought I’d try it. I feel like the fun, seemingly easy crafts that you find on Google or Pinterest aren’t usually as easy as they look, but this one was a pleasant surprise.
The original instructions can be found here; at washitapewarrior.com
Before getting started on the craft, I got all set up.
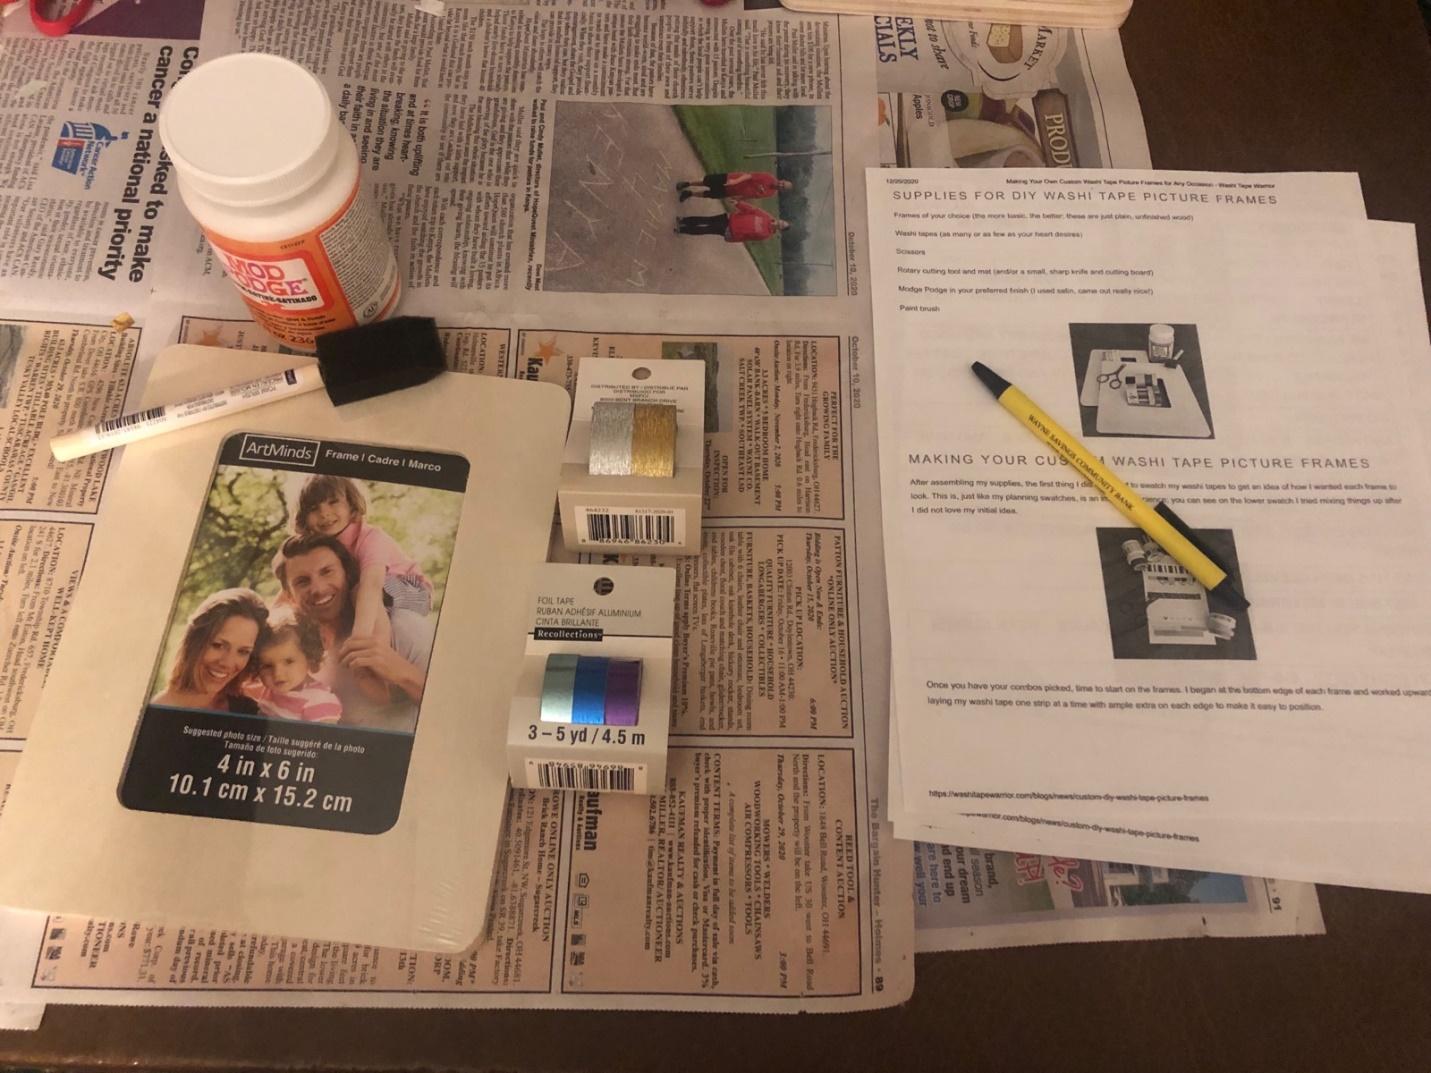

The first picture is of what I would need to have on hand immediately. The second picture shows more things that I assembled near the end of the table- my exacto knife and scissors (sharp things), more washi tape patterns, extra frames, and a larger mod podge brush. Though I would need the cutting tools down the line, I knew that I probably wouldn’t need much of the other stuff at the edge of the table. I tend to be kind of clumsy, so I figured it was best to keep the cutting tools out of reach until I got to the part where I would need them.
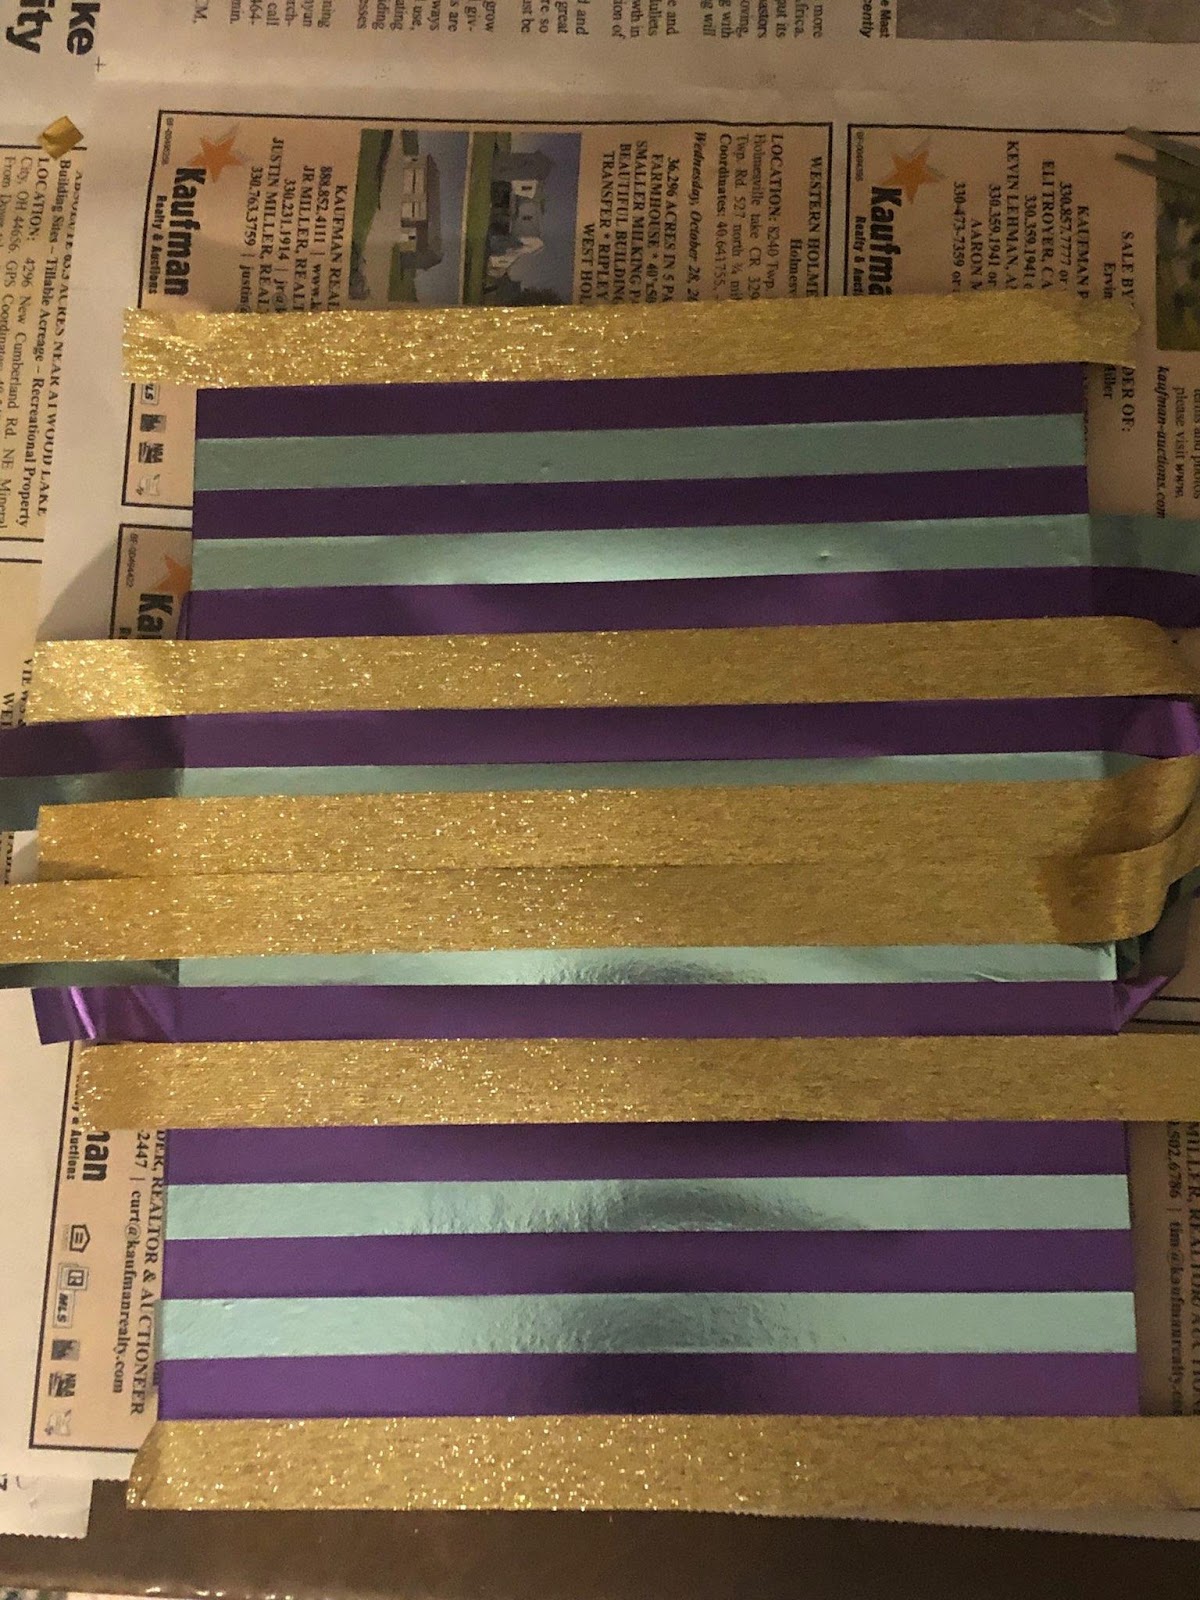
Step one is basic. Almost relaxing when you get into it! All you need to do is cover the frame with washi tape. While the example on washitapewarrior.com uses several different tape designs, I opted for something more streamlined.
Luckily, I had left lots of extra tape hanging off either side of the frame, and I’d not yet cut the outside edges off. I repositioned a few strips, flipped the frame over to the back, and tried again.
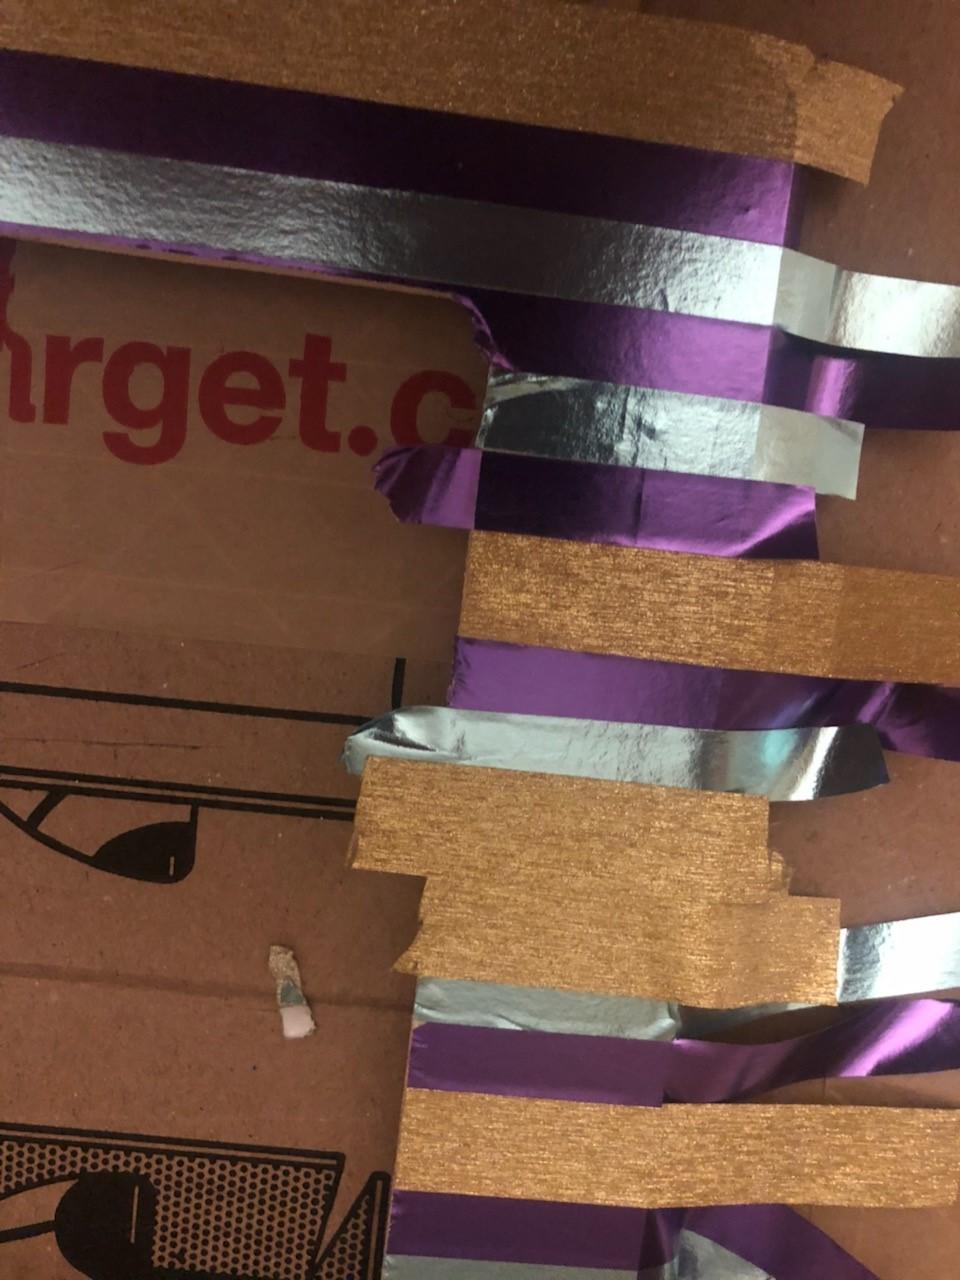
In the end, it took me three or four tries. That’s okay; I got it eventually! My edges looked better after I realized that I was supposed to cut on top of the washi tape, cut into the washi tape, cut a little bit into the surface of the old box I was using (below the frame), pull the exacto knife back up so that it’s only touching the washi tape, and slice it to the side. Then down into washi tape, down into the box, back up and over again. Once you get a feel for that, the edges will look better. Here are a couple of other tricks I learned:
- the thinner your washi tape material, the gentler you’ll want to be
- when you lay down a strip of washi tape, and you’re smoothing it out, hold a finger down on each side of the hole in the middle
After all of that, you still have to cut the outside edges off. I cut them off on one side, flipped the frame so that it was right side up again, and smoothed the side I had cut. Then I flipped it over to the back and cut the second side. You’ll want to try and remember to do it that way because washi tape is not that sticky. It will slide around as you cut.
The last step is to coat the frame in a thin, smooth layer of mod podge- to prevent the edges from curling.
This craft took me an hour and a half. If you have any hand skills at all, it will probably take you forty-five minutes to an hour. The blank wooden frames were only ninety-nine cents a piece at Michael’s. If you’re a crafty person, you might have the other tools lying around somewhere.
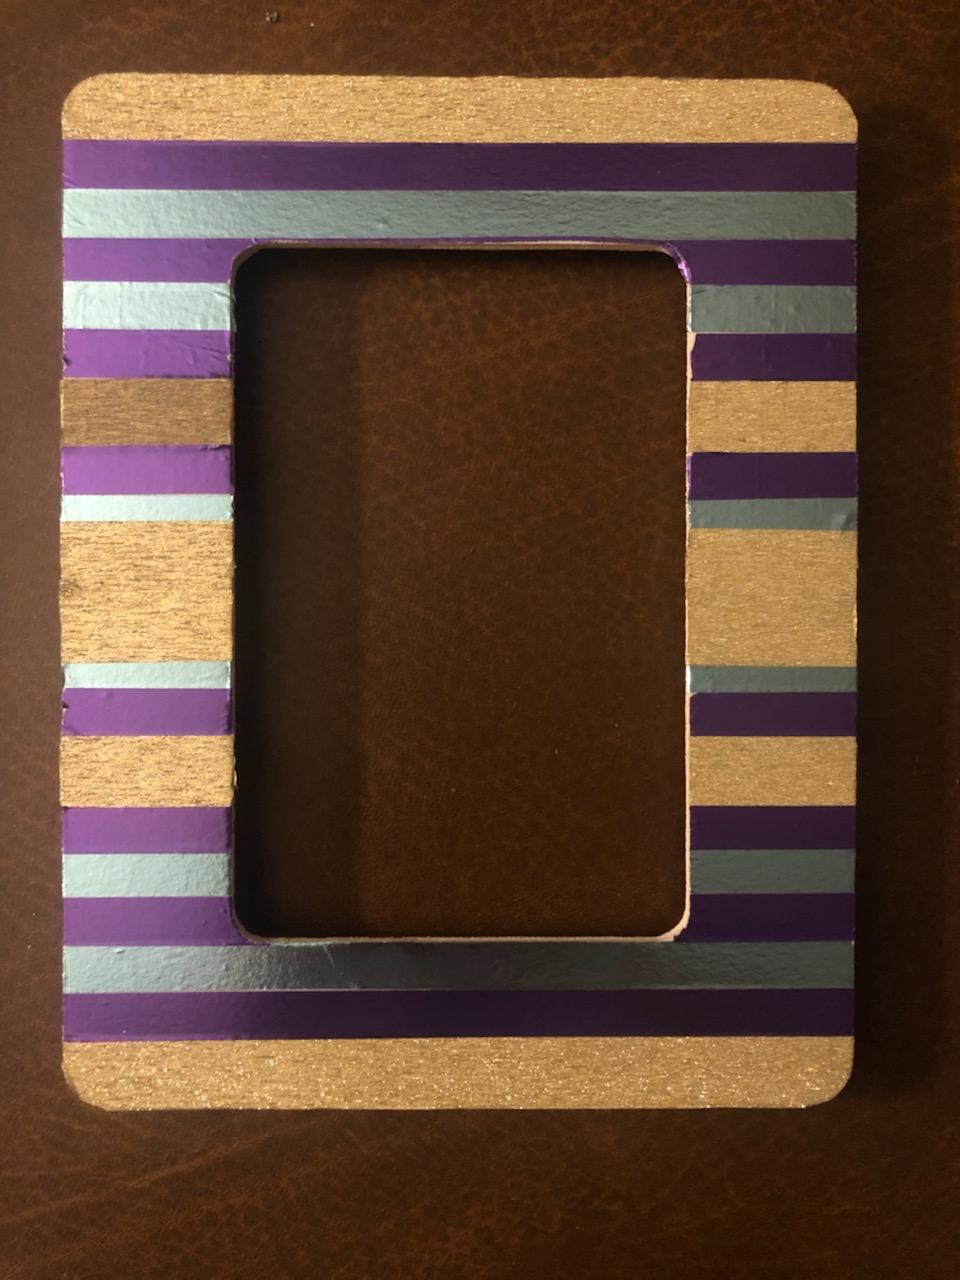
Pictured below is my final frame. It still looks a little rough, but that’s okay. If I were to make a second frame, it would look better. Besides, that’s part of the fun of crafting- no craft is perfect because no person is perfect.
Christmas will be here in a few short days, so this is my last gift idea. I want to thank you all for reading my column and wish you the Happiest of Holidays!
S. Elizabeth Sigler has been published in Re-Side Magazine, Fembot Magazine, The Daily Drunk, Howling Mad Review, and From Whispers to Roars. She will have creative nonfiction in the January 2021 issue of Biological Creatures. She uses her spare time to read, write, and explore the world around her.